As a dedicated hose end supplier, I've witnessed firsthand the growing interest in homemade hose ends. Not only does creating your own hose end allow for customization, but it also offers a cost - effective alternative to purchasing pre - made ones. In this blog, I'll share a step - by - step guide on how to make a homemade hose end.
Understanding the Basics of Hose Ends
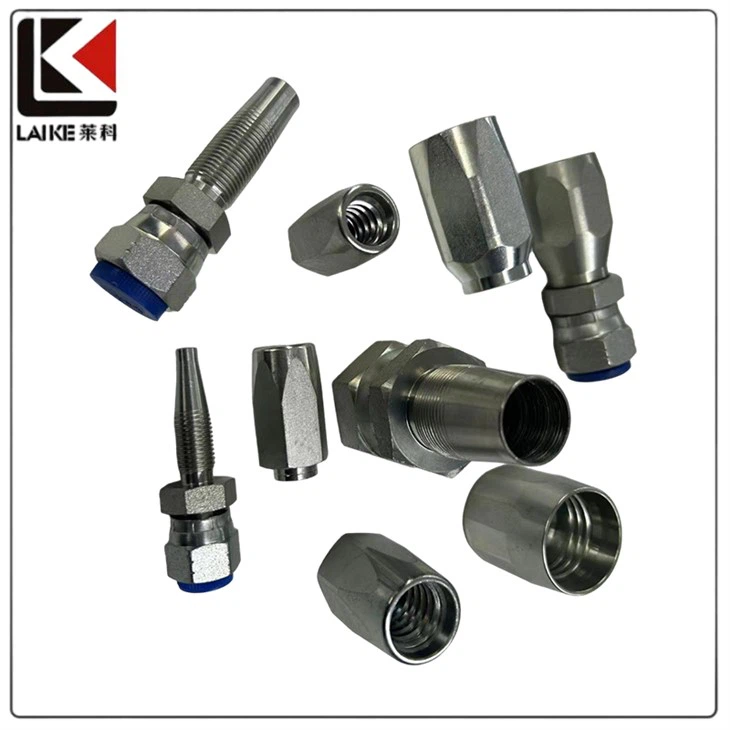
Before we dive into the process of making a homemade hose end, it's essential to understand the different types of hose ends available in the market. There are mainly two types: Swaged Hose Fitting and Reusable Hose Fitting.
Swaged hose fittings are permanently attached to the hose through a swaging process. This type of fitting provides a strong and reliable connection, often used in high - pressure applications. On the other hand, reusable hose fittings can be removed and re - used multiple times. They are more suitable for applications where the hose needs to be frequently disconnected and re - connected.
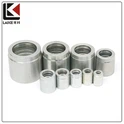
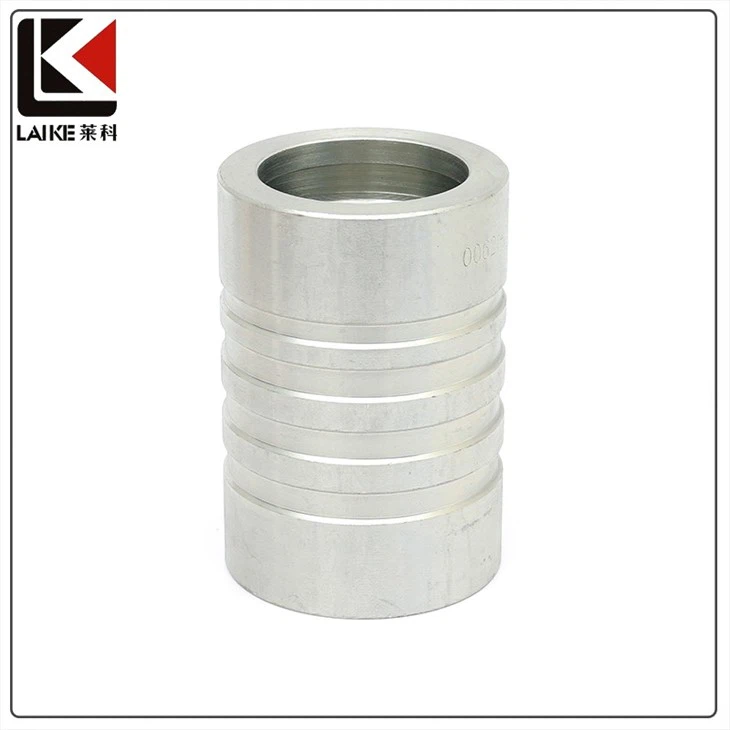
Another important component is the Interlock Ferrule. The interlock ferrule is used to secure the hose to the fitting, preventing it from slipping off under pressure.
Materials and Tools Required
To make a homemade hose end, you'll need the following materials and tools:
Materials
- Hose: Select a hose that is appropriate for your intended application. Consider factors such as the type of fluid or gas it will carry, the pressure it will be subjected to, and the environmental conditions.
- Fitting: Choose a fitting that matches the size and type of your hose. You can opt for either a swaged or reusable fitting depending on your needs.
- Interlock Ferrule: Ensure that the ferrule is the correct size for your hose and fitting.
- Lubricant: A suitable lubricant will make it easier to insert the hose onto the fitting.
Tools
- Hose Cutter: A sharp hose cutter is essential for cutting the hose to the desired length.
- Wrenches: You'll need wrenches to tighten the fitting onto the hose. The size of the wrenches will depend on the size of the fitting.
- Swaging Machine (if using swaged fittings): If you're using swaged fittings, a swaging machine is required to permanently attach the fitting to the hose.
Step - by - Step Guide
Step 1: Measure and Cut the Hose
Using a measuring tape, measure the length of the hose you need. Mark the measurement on the hose with a marker. Then, use a hose cutter to cut the hose at the marked point. Make sure the cut is clean and straight.
Step 2: Prepare the Fitting
If you're using a reusable fitting, apply a thin layer of lubricant to the male end of the fitting. This will make it easier to insert the hose onto the fitting. If you're using a swaged fitting, you'll need to prepare it according to the manufacturer's instructions.
Step 3: Insert the Hose onto the Fitting
Carefully insert the cut end of the hose onto the lubricated male end of the fitting. Push the hose onto the fitting as far as it will go. Make sure the hose is centered on the fitting and there are no kinks or twists.
Step 4: Install the Interlock Ferrule
Slide the interlock ferrule over the hose and onto the fitting. Position the ferrule so that it covers the area where the hose meets the fitting. The ferrule will help to secure the hose to the fitting and prevent it from slipping off.
Step 5: Tighten the Fitting (Reusable Fittings)
If you're using a reusable fitting, use wrenches to tighten the nut on the fitting. Tighten the nut until it is snug, but be careful not to over - tighten it as this can damage the fitting or the hose.
Step 6: Swage the Fitting (Swaged Fittings)
If you're using swaged fittings, place the hose and fitting assembly into the swaging machine. Follow the manufacturer's instructions to operate the swaging machine. The swaging machine will compress the ferrule around the hose and fitting, creating a permanent and secure connection.
Testing the Homemade Hose End
Once you've completed the process of making the homemade hose end, it's crucial to test it before using it in your application.
Pressure Testing
If the hose end is intended for a high - pressure application, conduct a pressure test. Connect the hose end to a pressure source and gradually increase the pressure. Check for any leaks or signs of failure. If you notice any leaks, stop the test immediately and re - check the connection.
Flow Testing
For applications where the hose will carry fluids or gases, perform a flow test. Connect the hose end to a fluid or gas source and observe the flow. Make sure the flow is smooth and there are no restrictions.
Advantages of Homemade Hose Ends
Making your own hose end has several advantages:
- Customization: You can customize the hose end to meet your specific requirements. You can choose the type of fitting, the length of the hose, and the materials used.
- Cost - Savings: Homemade hose ends can be more cost - effective than purchasing pre - made ones, especially if you need a large number of hose ends.
- Learning Experience: Making a homemade hose end is a great learning experience. It allows you to understand how hose ends work and how to properly install them.
Conclusion
Making a homemade hose end is a rewarding process that offers both customization and cost - savings. By following the steps outlined in this blog, you can create a high - quality hose end that meets your specific needs.
If you're interested in purchasing high - quality hose ends or any related materials, I encourage you to reach out for a procurement discussion. Whether you need advice on the right type of hose end for your application or are looking for bulk orders, I'm here to assist you.
References
- Hose Fitting Handbook, Industry Standard Publication
- Manufacturer's Instructions for Swaging Machines and Fittings