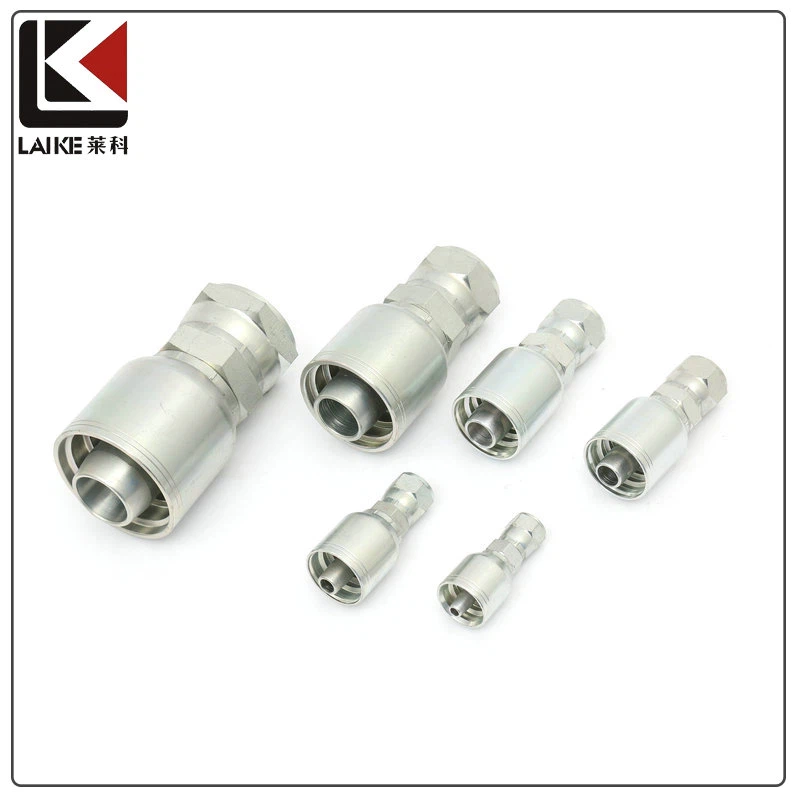
Hey there! As a supplier of FJX Fittings, I get a ton of questions about how to adjust these things properly. It's crucial to get it right because a well - adjusted FJX Fitting can make your hydraulic system run smoothly and efficiently. So, let's dive into the nitty - gritty of adjusting FJX Fittings.
Understanding FJX Fittings Basics
First off, you need to know what FJX Fittings are all about. These fittings are used in hydraulic systems, and they play a key role in connecting different parts of the system, like hoses and tubes. They come in various shapes and sizes, and each type is designed for specific applications.
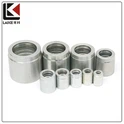
One important thing to note is that FJX Fittings are often used in conjunction with other hydraulic components. For example, you might pair them with Hydraulic Ferrule. These ferrules are essential for creating a tight seal between the fitting and the hose, preventing any leaks. And let's not forget about Hydraulic Hose Accessories. They can enhance the performance of your FJX Fittings and the overall hydraulic system.
Tools You'll Need
Before you start adjusting your FJX Fittings, make sure you have the right tools. You'll typically need a wrench, and the size will depend on the fitting you're working with. A torque wrench can also be super helpful. It allows you to tighten the fitting to the exact specification, which is crucial for avoiding under - or over - tightening.
You might also want to have some sealing tape or thread locker on hand. Sealing tape helps create an extra barrier against leaks, while thread locker keeps the fitting from coming loose over time due to vibrations.
Step - by - Step Adjustment Process
Step 1: Preparation
The first step is to make sure the hydraulic system is turned off and depressurized. You don't want any pressure in the system when you're adjusting the fitting. It's also a good idea to clean the area around the fitting. Any dirt or debris could interfere with the adjustment process or cause leaks later on.

Step 2: Inspect the Fitting
Take a good look at the FJX Fitting. Check for any signs of damage, like cracks or worn - out threads. If you notice any issues, it's best to replace the fitting before proceeding. A damaged fitting won't work properly, no matter how well you adjust it.
Step 3: Loosen the Fitting
Using your wrench, carefully loosen the fitting. This might be a bit tricky, especially if the fitting has been in place for a while. You may need to apply some force, but be careful not to overdo it. If the fitting is really stuck, you can try using a penetrating oil to help loosen it up.
Step 4: Adjust the Position
Once the fitting is loose, you can adjust its position. This might involve aligning it with other components in the hydraulic system, like a JIC Hose Fittings. Make sure the fitting is sitting straight and level. If it's not aligned correctly, it could cause problems with the flow of hydraulic fluid.
Step 5: Tighten the Fitting
Now it's time to tighten the fitting back up. If you have a torque wrench, use it to tighten the fitting to the manufacturer's recommended torque. This ensures a proper seal without overtightening, which can damage the fitting or the surrounding components. If you don't have a torque wrench, tighten the fitting by hand as snugly as possible and then give it a quarter - turn with the wrench.
Step 6: Check for Leaks
After tightening the fitting, turn the hydraulic system back on and check for leaks. Look for any signs of fluid seeping around the fitting. If you notice a leak, turn off the system immediately and retighten the fitting. If the leak persists, there might be an issue with the fitting itself or the sealing tape.
Common Adjustment Mistakes to Avoid
Over - Tightening
One of the most common mistakes is over - tightening the fitting. This can cause the threads to strip or the fitting to crack. Always follow the recommended torque specifications.
Under - Tightening
On the flip side, under - tightening the fitting can lead to leaks. Make sure you tighten the fitting enough to create a proper seal, but don't go overboard.
Incorrect Alignment
If the fitting isn't aligned correctly, it can cause problems with the flow of hydraulic fluid. Take your time to align the fitting properly with other components in the system.
Troubleshooting Adjustment Issues
If you're having trouble adjusting the FJX Fitting, here are some common issues and solutions:
- Fitting won't loosen: As mentioned earlier, you can try using a penetrating oil. Let it sit for a few minutes to work its way into the threads, and then try to loosen the fitting again.
- Leak after adjustment: Check if the fitting is tightened properly. If it is, the problem might be with the sealing tape or the fitting itself. Replace the sealing tape or the fitting if necessary.
- Fitting is misaligned: Loosen the fitting and realign it with the other components. Make sure it's sitting straight and level before tightening it back up.
Why Proper Adjustment Matters
Properly adjusting your FJX Fittings is not just about preventing leaks. It also affects the overall performance of your hydraulic system. A well - adjusted fitting ensures a smooth flow of hydraulic fluid, which means your equipment will operate more efficiently. It can also extend the lifespan of your hydraulic components, saving you money in the long run.
Contact Us for Your FJX Fitting Needs
If you're in the market for high - quality FJX Fittings or need more advice on adjustment, we're here to help. We've got a wide range of FJX Fittings and related products, like Hydraulic Ferrule and Hydraulic Hose Accessories. Whether you're a professional in the hydraulic industry or a DIY enthusiast, we can provide you with the right products and support. Reach out to us for a quote or to discuss your specific requirements.
References
- Hydraulic Fitting Handbook: A comprehensive guide on hydraulic fittings and their adjustment.
- Manufacturer's manuals for FJX Fittings: These provide detailed information on the specific adjustment procedures for different models of FJX Fittings.